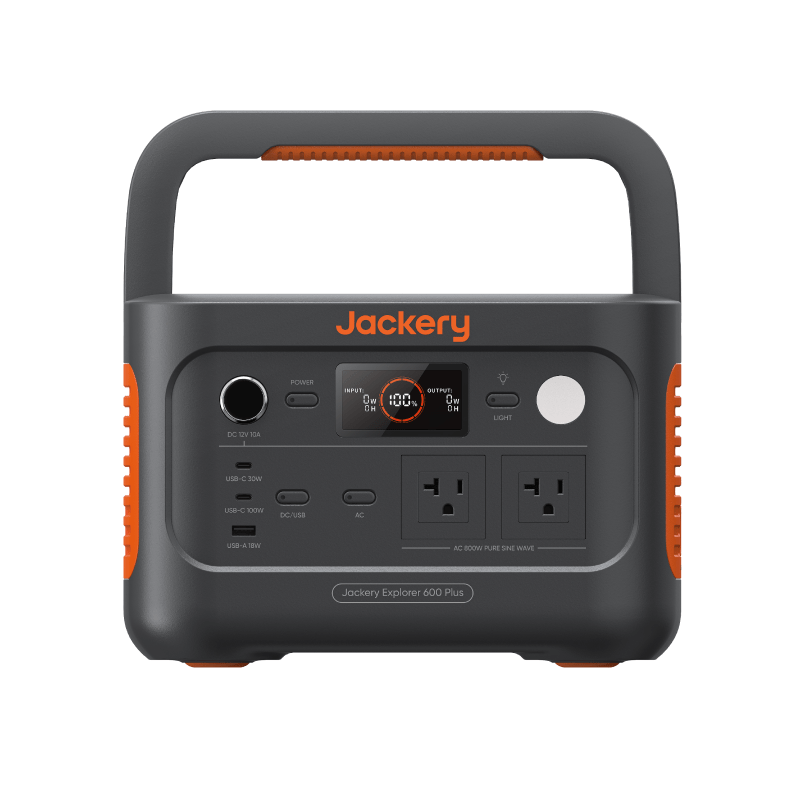
Camping power is a beginner-friendly problem wearing an intimidating costume. The loads are tiny, the trips are short, and the failure mode is mild — a phone dies early. Yet camping is also where new buyers overspend the most, hauling four-figure watt-hour stations to sites where a power bank would have done. Here’s how to size it honestly.
Start with a weekend budget, not a product page
Add up what a real two-night, two-person trip consumes:
| Load | Typical draw | Use over the weekend | Energy |
|---|---|---|---|
| LED lantern / string lights | 5–10W | 4 hrs × 2 nights | 40–80Wh |
| Two phones | ~10Wh per charge | 1 charge each per day | 40–60Wh |
| Camera battery charging | 10–15W | 2 batteries | 20–30Wh |
| Small fan | 15–25W | 5 hrs × 2 nights | 150–250Wh |
| Weekend total | ~250–420Wh |
Notice what dominates: the fan. Lights and phones — the loads people worry about most — are almost negligible. Skip the fan and a weekend runs on well under 200Wh; keep it and you’re still inside 450Wh.
Account for conversion losses and a 10% reserve (together, about 76.5% of the label reaches the plan) and the full list needs roughly 330–550Wh of rated capacity. A 500Wh-class station covers the typical middle; if the fan stays near the high end, move up one class rather than pretending the label is fully usable. A large power bank (~90Wh) still covers a lights-and-phones trip. If your list looks different, the Gear Finder will size it against your actual answers, and the Device Wattage Library has real ranges for anything not in the table.
A portable-power budget for camping camera gear
Camera trips are easier to size from energy per recharge than from charger watts. Read the Wh value printed on each camera or drone battery, multiply it by the number of full recharges you expect, then add anything that runs continuously. Here is a deliberately demanding weekend example:
| Camera-camp load | Assumption | Weekend energy |
|---|---|---|
| Mirrorless / DSLR batteries | 4 full recharges × 15Wh | 60Wh |
| Drone batteries | 2 full recharges × 60Wh | 120Wh |
| Phone | 1 full recharge × 18Wh | 18Wh |
| Laptop for backup or editing | 50W × 2 hours | 100Wh |
| LED light | 8W × 4 hours | 32Wh |
| Total delivered to gear | 330Wh |
With this site’s standard 85% conversion-efficiency and 10% reserve assumptions, 330Wh of device use needs about 435Wh of rated battery capacity. That makes a 500Wh-class station the practical answer. Remove the drone batteries and the same trip falls near 275Wh of recommended capacity, where a 300Wh-class station can work. Replace every example with the label on your own batteries; high-capacity cinema batteries and large drone packs can change the answer quickly.
For a simultaneous evening charge-and-edit session, use the Camera & Drone Power Planner. It keeps camera and drone battery refills, laptop time, lighting energy, and simultaneous charger output in separate lanes; replace every starting value with the labels from your own kit. Cold weather also reduces usable battery capacity, so keep the station insulated from frozen ground and preserve more reserve than you would in summer.
Why beginners overbuy
Camping gear marketing leans on worst-case imagery — storm-stranded, off-grid for a week, powering a small kitchen. Weekend campers then buy 1,000–2,000Wh stations and carry 25–40 pounds of battery to run 300Wh of actual load. The oversize unit isn’t just money; it’s weight and bulk that make you less likely to bring it at all.
The honest sizing move: buy for the trips you take now, sized from your own table above with maybe 30% headroom. If your camping later grows into week-long trips or powering a remote-work setup from the trailhead, upgrade then — used mid-size stations hold value better than regret does. Budget-conscious campers should start with the budget backup power setup guide, because its phones-internet-lights kit overlaps heavily with a camping kit.
Solar at camp: honest expectations
Solar panels and camping look made for each other, but campsites fight panels in three ways:
- Shade. Good campsites have trees; panels hate trees. Even passing shade cuts output sharply.
- Angle and attention. Rated output assumes a panel aimed at the sun. A panel flopped flat by the tent, unadjusted all day, gives up a large share.
- Hours. “Daylight” isn’t “peak sun” — a bright summer day typically delivers only 4–6 peak sun hours, and a shaded site sees less.
A 100W panel that would produce ~315Wh in a good open-sun day often nets half that at a real campsite. That still matters on multi-day trips — it can cover the daily lights-and-phones budget entirely — but for a weekend, it’s optional weight. The dependable recharge is the one you already own: the drive. A car’s 12V port typically pushes 60–100W into a station, so a couple of hours on the road puts back most of a weekend’s usage. If solar tempts you anyway, read the solar panel sizing guide first and run your numbers in the Solar Recharge Calculator.
Go 12V and USB first
Every power station has two kinds of outputs: DC (USB and 12V ports) and AC (the household outlet, run through an inverter). The inverter costs you twice — it burns extra energy converting DC to AC, and it idles away power just by being switched on.
At camp, almost everything you carry is natively DC: phones, headlamps, lanterns, camera chargers, fans, and USB string lights all have USB or 12V versions. Charging them straight from DC ports skips the inverter entirely and can stretch effective capacity noticeably. Practical habits:
- Prefer USB versions of gear when buying anything new for camp.
- Keep the AC inverter off unless something genuinely needs it, and switch it off again right after.
- Charge camera batteries via a USB charger rather than the wall-plug charger through the inverter.
Packing, weight, and campsite etiquette
Weight decides what gets brought. A ~90Wh power bank is a pound; a 300–500Wh station is 10–15 pounds; a 1,000Wh unit is 25+ — fine for drive-up sites, unreasonable carried any distance. Pack the battery where it stays shaded and dry, and bring the short list of cables you actually need, tested at home.
One quiet advantage batteries have over fuel generators: silence. Many campgrounds restrict generator hours precisely because engine noise carries; a battery bank makes you the neighbor everyone wants. (And the safety rule stands everywhere: fuel generators must never run indoors — or in a tent, which is very much indoors.)
Safety basics
Battery safety at camp is mostly temperature and water discipline:
- Keep it dry. Under shelter, off wet ground, away from the cooler’s melt.
- Keep it cool while charging. Don’t charge a station sitting in direct sun or inside a hot sealed tent; heat while charging is the main stress on lithium batteries.
- Mind the cold. Many stations won’t charge below freezing — on cold-morning trips, charge midday or keep the unit inside your sleeping area overnight (dry and ventilated).
- Follow the manual’s temperature limits. They’re conservative on purpose.
Next steps
- Answer the Gear Finder’s six questions with your real camping loads to get a sized recommendation.
- Build a bounded camera and drone mission power plan from your battery labels, laptop time, lights, and simultaneous charging load.
- Estimate how long your station runs the fan with the Battery Runtime Calculator.
- Thinking about adding a panel? Start with the solar panel sizing guide.
- Graduating from weekends to a rig? Our RV & vanlife power station picks work the full daily budget — fridge duty cycle and recharge habit included.